

Starting a Fire with Logs in Your Burner: Essential Steps for Perfect Indoor Solid Fuel Heating
Getting a fire going in a wood-burning stove isn’t always as simple as it looks. Plenty of folks find themselves frustrated by stubborn, smoky starts or wasted fuel and disappointing heat. But honestly, a little know-how goes a long way—you’ll be surprised how much better your stove performs with a few tweaks to your technique.

Figuring out the right way to light your wood burner just makes everything easier—safer, more reliable heat, and less hassle. It’s all about arranging your logs and kindling so there’s good airflow and a slow, steady build-up of heat. When you get it right, the fire more or less takes care of itself after those first few minutes.
How to Start a Log Burner
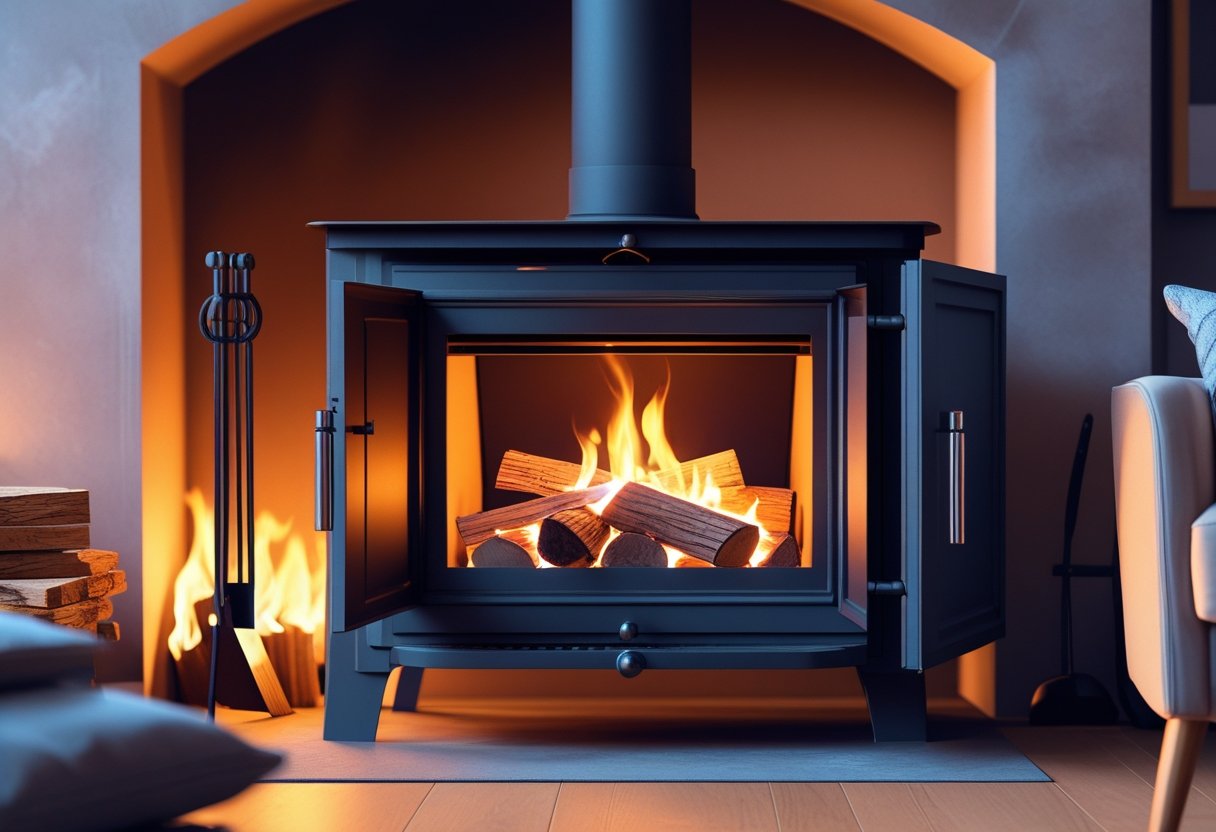
First things first: clear out any leftover ash or mess from your last fire. It’s tempting to skip this step, but trust me, a clean burner makes a world of difference.
Drop a few firelighters at the bottom, then pile up dry kindling in a bit of a criss-cross pattern right above them. This isn’t just for looks—it really helps the flames move through the pile and get everything going.
Quick checklist:
- Clear out old ash and debris
- Place firelighters at the bottom
- Stack kindling loosely in layers
- Add logs only after kindling is burning well
Once you light the firelighters, give the kindling a moment to catch properly. When it’s burning with a bit of confidence, toss on a couple of small logs. Don’t cram them in—leave a little space so air can get through.
The fire might need a nudge here and there as it gets going. If the flames start to sputter, try poking the logs a bit to open up some air gaps. Sometimes just adding a fresh log or two is all it takes to perk things up again.
Pro tip: Always check the manual for your specific log burner. Some models have quirks or requirements that are easy to miss but make a big difference.
What to Avoid When Using a Log Burner
Log burners aren’t totally foolproof. Here’s what you’ll want to steer clear of:
Don’t burn coal in a regular log burner—it burns way hotter than wood and can wreck your stove. Only use coal if your stove is actually built for it.
Skip wet or green wood. If your firewood’s still damp, you’re just asking for smoke and a gunky stove. Aim for wood with less than 20% moisture; check it with a moisture meter or stick to kiln-dried logs if you’re unsure.
Don’t overload the stove. It’s tempting to pile on the logs, but that just chokes off the air and leaves you with a sad, smoldering mess. Add logs gradually as the fire needs them.
Heads up on safety:
- Don’t leave the fire burning unattended
- Keep kids and pets away from the hot stove
- Wear heat-resistant gloves (seriously, it’s worth it)
- Use long-handled tools for moving logs
- Keep the area around your stove free of clutter and flammables
Air control basics:
- Don’t slam the vents shut while the fire’s burning
- Make sure there’s enough oxygen for a clean, lively flame
- Tweak the vents slowly to manage the fire’s size
- Leave vents open at the start for an easier light-up
It’s not rocket science, but these habits really do make for a better, safer fire. A little maintenance and the right fuel, and your log burner will serve you well all season long.
Starting Your Wood Burner Fire
Start by placing two logs next to each other at the bottom of the wood burner. Scatter about five pieces of kindling across them, then add four more kindling sticks at a right angle, making a loose crisscross—don’t worry about getting it perfect.
Wedge a couple of firelighters into the gaps in your kindling pile. Light them up and let the flames work their way through the kindling. Give it a moment—wait until the kindling is really going before tossing on any more fuel.
Key items needed:
- Dry logs
- Small kindling pieces
- Firelighters
- Matches or a lighter
The fire should start out small, gradually picking up as the kindling burns down. Once you notice the kindling is blazing and the logs are starting to catch, go ahead and add another log or two—usually every hour or so, but honestly, it depends on how things are looking.
Tips for success:
- Always use dry, seasoned wood
- Start with smaller pieces—don’t rush the big logs
- Make sure there’s space for air to get through
- Let the fire build up slowly
- Keep an eye on it and add fuel when it looks like it needs it
The first bit can be a little hands-on. Watch how the fire takes and play with the air vents if you need to. You’re aiming for bright, steady flames—if it’s belching smoke, something’s off.